|
|
||||||
|
|
|
 to communicate thinking.
 and opened
 .
A saved file can be shared with peers or submitted to a teacher. The file will contain all solution steps from start to finish.
CountingPractise counting by dragging tiles into the workspace. Practise skip counting by 2s, 5s, 10s, or 100s by changing the Number of Copies to Drag button  and then dragging tiles into the workspace. and then dragging tiles into the workspace.Practise counting backwards. Drag a number of tiles into the workspace and then drag individual tiles or groups of tiles to the recycle bin. Check the total number of tiles in the workspace using the Tile Count button  . .
|
||
|
Many WINS  Counting activities use Colour Tiles including Counting Forward to 10 and Counting Backwards from 50. Counting activities use Colour Tiles including Counting Forward to 10 and Counting Backwards from 50.
|
||
top |
||
Composing and DecomposingComposing is the idea that whole numbers can be combined to create a larger number. Drag different numbers of tiles into the workspace and combine them to make a larger collection of tiles. For example, a group of 10 tiles, a group of 5 tiles and then 1 single tile might be dragged into the workspace to create a group of 16 tiles. This illustrates that one way to compose 16 is 10 and 5 and 1. Use the Number of Copies to Drag button  and/or the Copy button and/or the Copy button  to create groups of tiles of different sizes. to create groups of tiles of different sizes.
Decomposing is the idea that a number can be broken down into smaller numbers. Once a number has been represented by a group of tiles, select subsets of the group and use the Change Selected Tiles button  to change the colour of the selected group of tiles. This illustrates that the given value can be decomposed into smaller numbers. to change the colour of the selected group of tiles. This illustrates that the given value can be decomposed into smaller numbers.
|
||
|
Many WINS  Composing and Decomposing Whole Number activities use Colour Tiles including Composing and Decomposing Whole Numbers to 20 and Whole Numbers to 50. Composing and Decomposing Whole Number activities use Colour Tiles including Composing and Decomposing Whole Numbers to 20 and Whole Numbers to 50.
|
||
top |
||
Representing
|
||
|
||
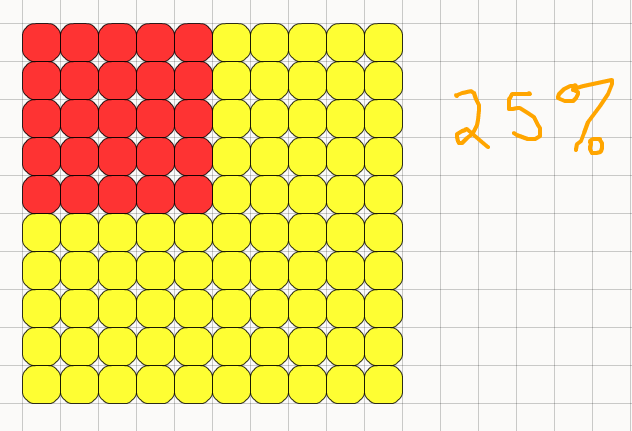
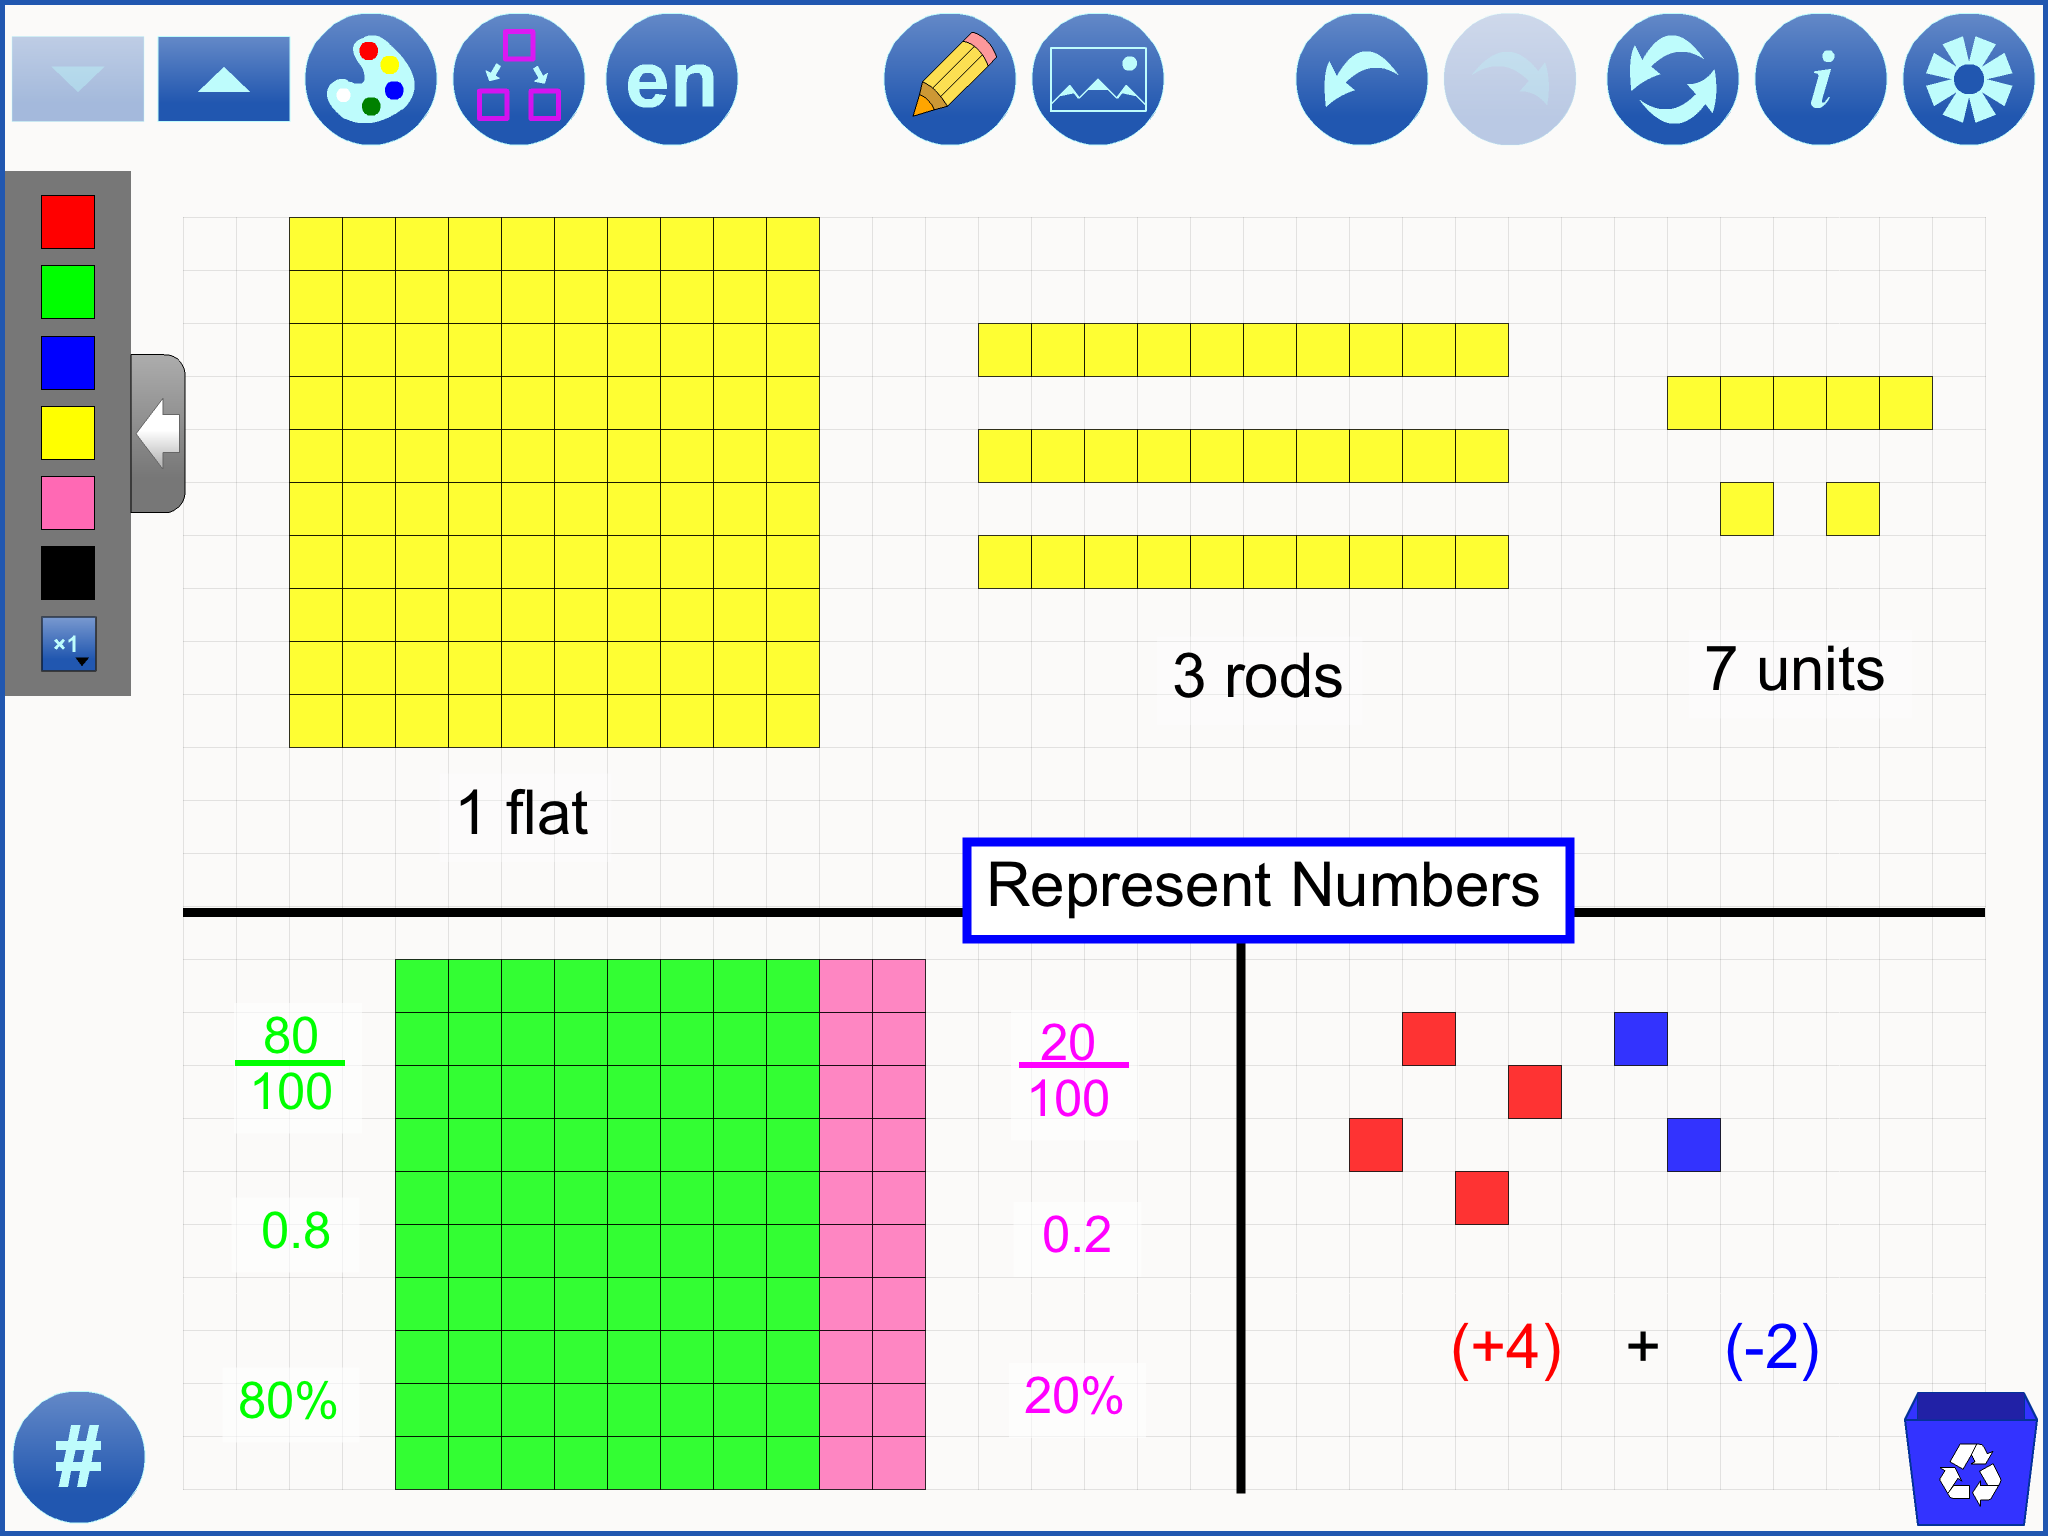
| The annotation grid has been used to simulate the base ten materials shown here. This template file has been created so that the grid matches the size of the tiles. If the tiles are resized, the grid will resize to match. Enter annotation mode to manipulate the base ten materials. Rods, flats and units can be moved, copied and rotated. Be careful NOT to accidentally resize the base ten materials or they will no longer match the tiles. | ||
|
||
|
Many WINS  Representing, Comparing and Ordering Whole Numbers activities use Colour Tiles including: Representing Numbers to 5, Numbers to 20, Numbers to 100 and Compare and Order to 50 Representing, Comparing and Ordering Whole Numbers activities use Colour Tiles including: Representing Numbers to 5, Numbers to 20, Numbers to 100 and Compare and Order to 50 |
||
|
||
top |
||
Model Operations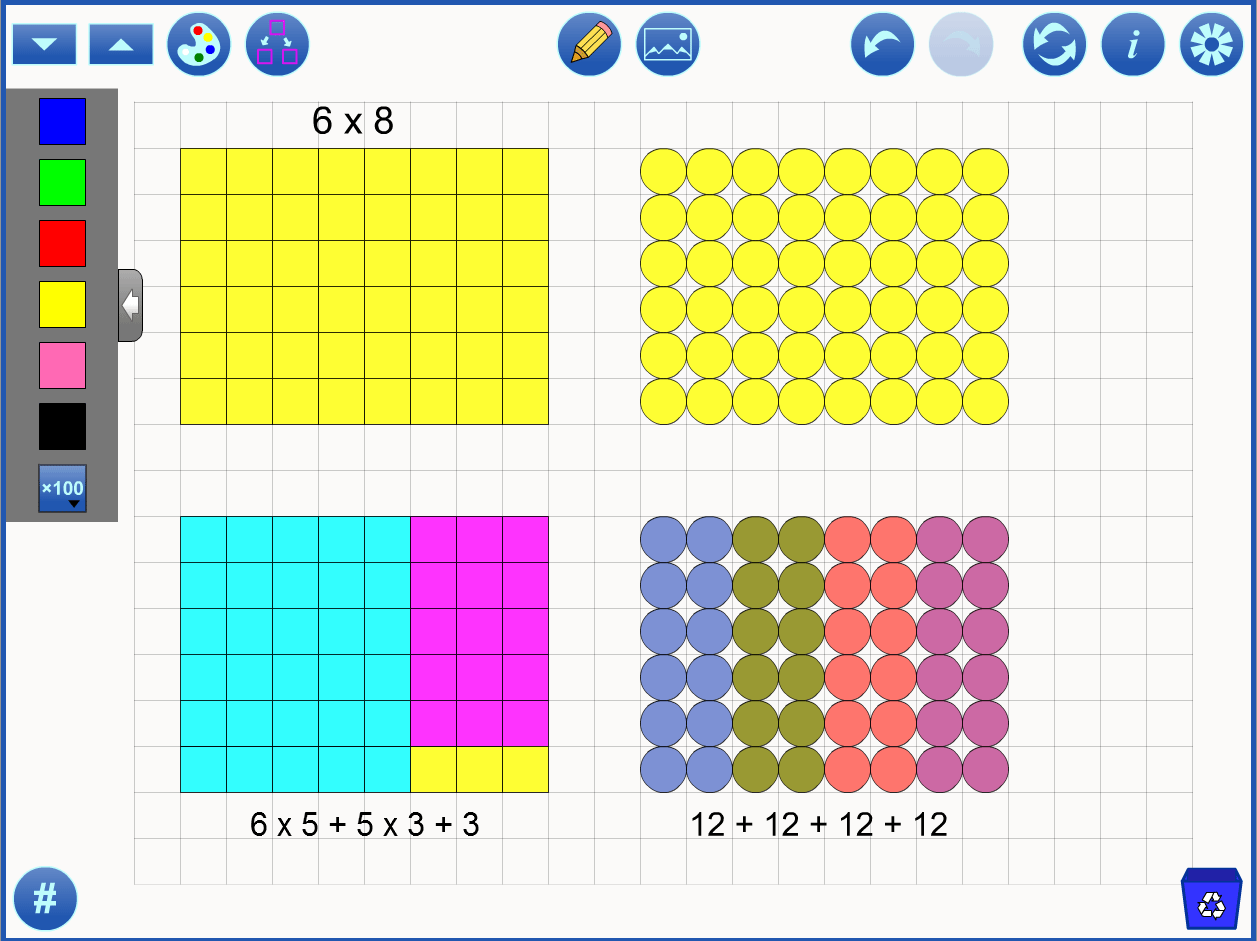
|
||
|
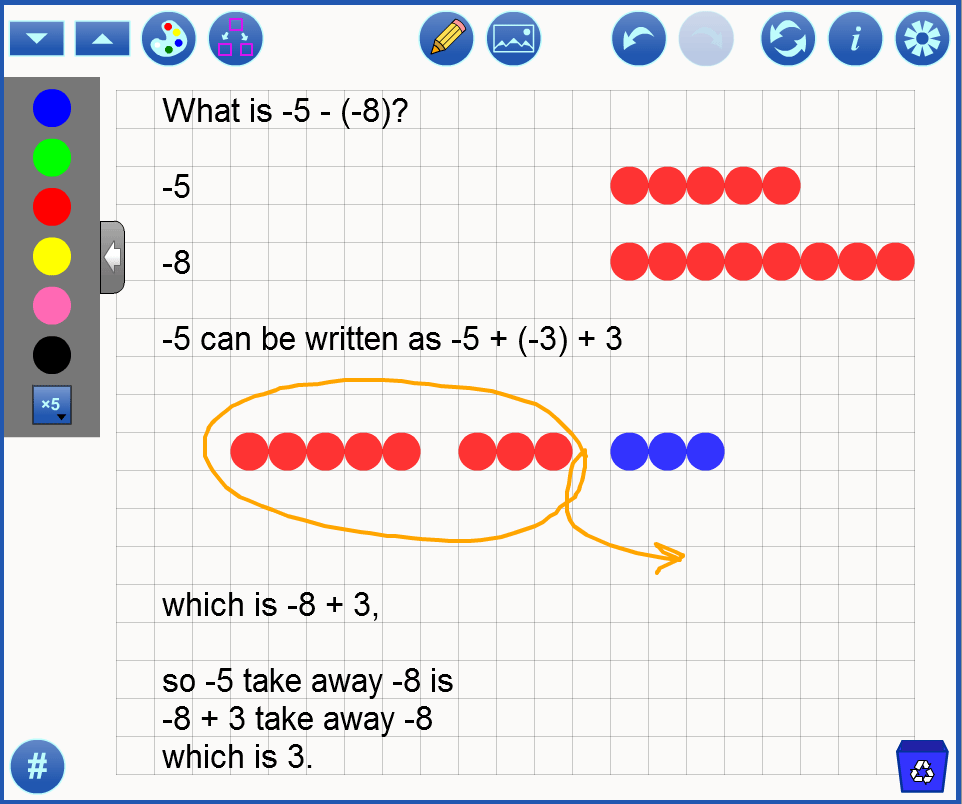
Many WINS  Operations activities use Colour Tiles including: Exploring Multiplication, Exploring Division, Multiplication Facts To 9 x 9 and Situations Involving Products to 50. Operations activities use Colour Tiles including: Exploring Multiplication, Exploring Division, Multiplication Facts To 9 x 9 and Situations Involving Products to 50. |
||
|
||
topPatterning |
||
|
||
| Linear Growing Patterns |
||

|
||
| AB Pattern |
||

|
||
| Tables and Chairs
See Engaging Math's Visual Patterns Cards which uses the Colour Tiles app. top |
||
Measurement and Geometry |
||
|
||
|
||
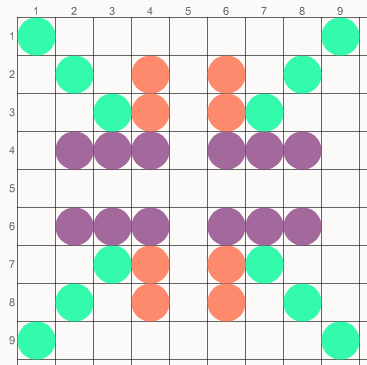
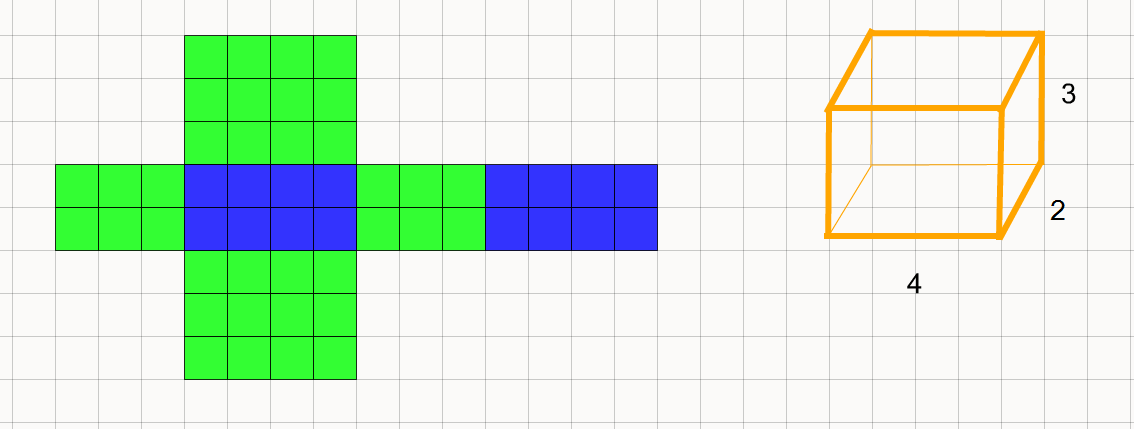
| The following is a nice exercise to get new users familiarized with the tool and some of the useful buttons. |
||
|
||
| Here is a video demonstration of one possible solution: |
||
 |
||
| Symmetry |
 top
top
|
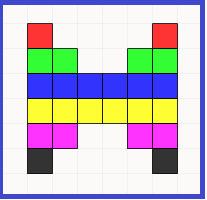
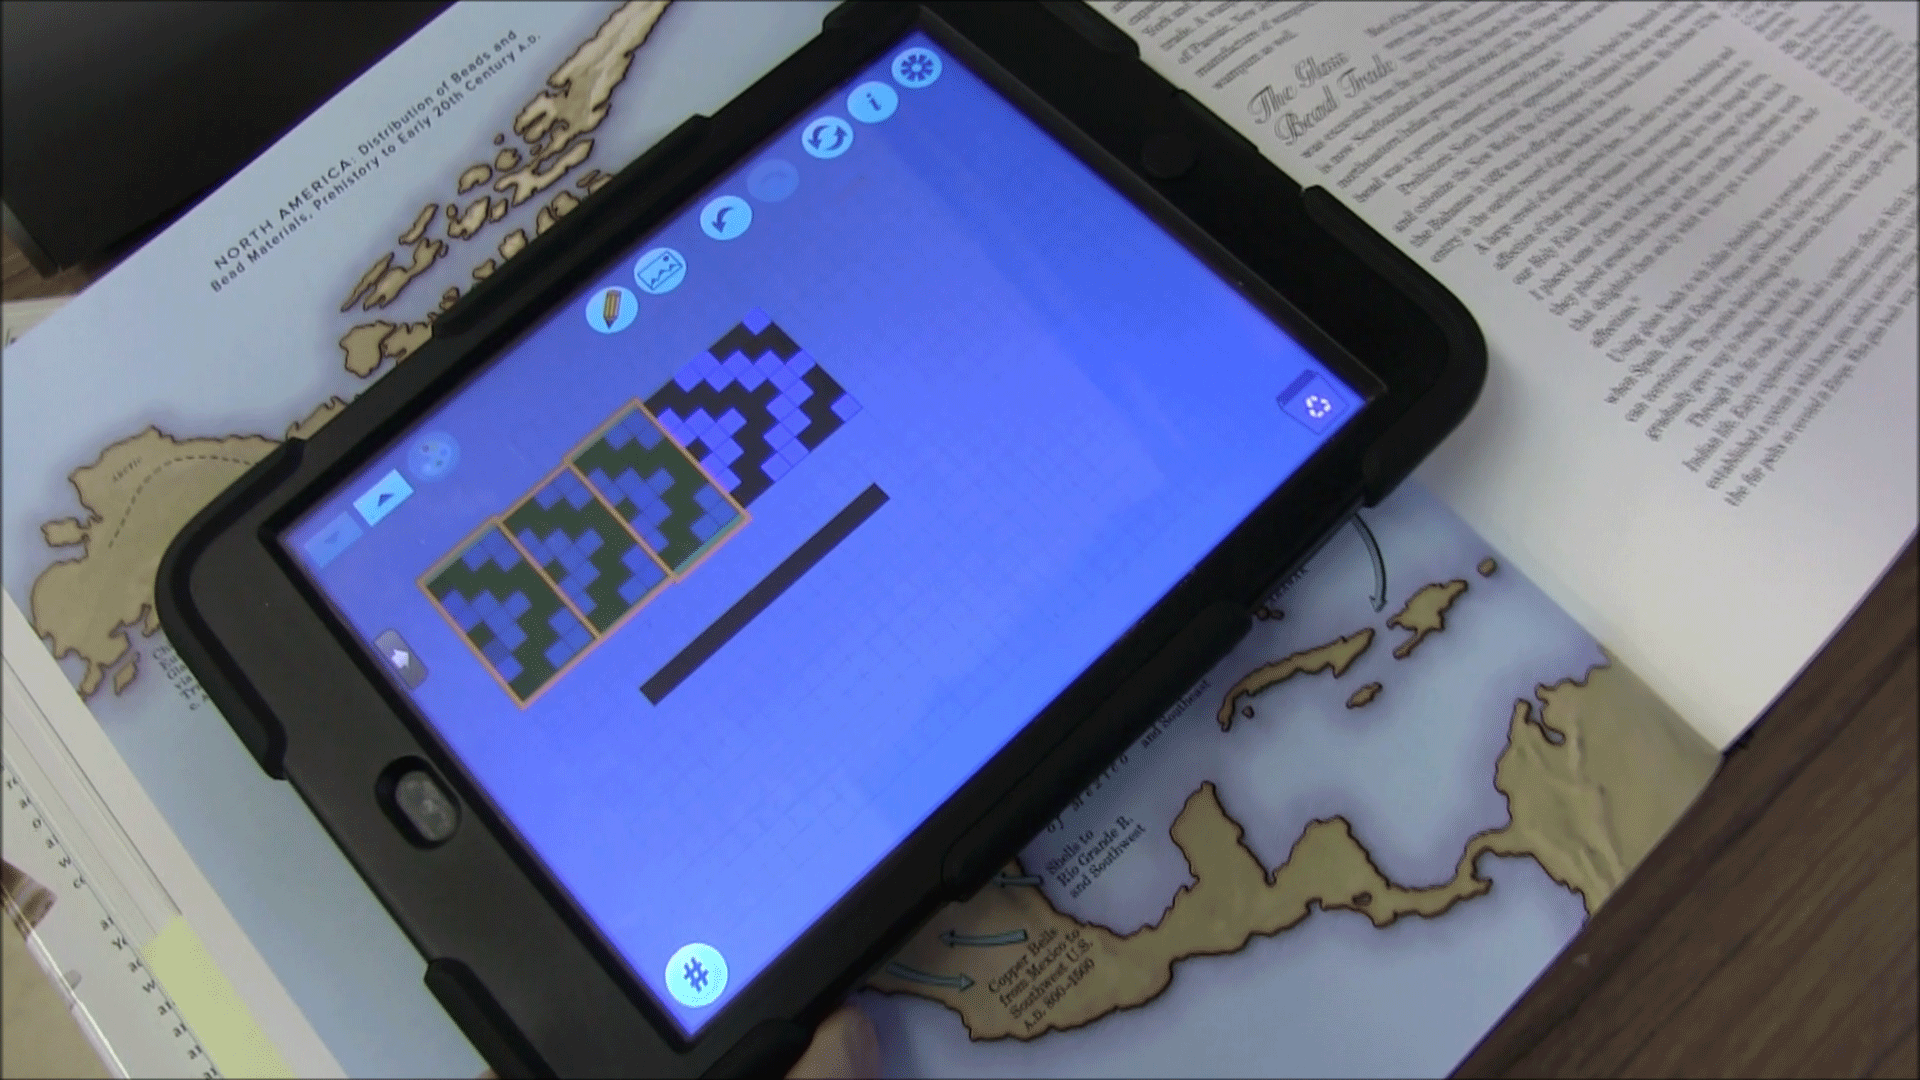
| An Eganville District PS student using v1.0 of Colour Tiles as part of loom bead study |
|
|
| On desktop, click on the image above to open this file. |
SampleClick to open in the tool - desktop only |
URLType or copy into Open WWW text box, or save locally by right-clicking or hard-pressing |
Represent Numbers
 |
https://mathies.ca/files/examples/CT_Ex1.xml |
|
Chevron Beading Pattern
|
https://mathies.ca/files/examples/CT_Ex2.xml |
|
Transformations
|
https://mathies.ca/files/examples/CT_SS2.xml |
Patterning
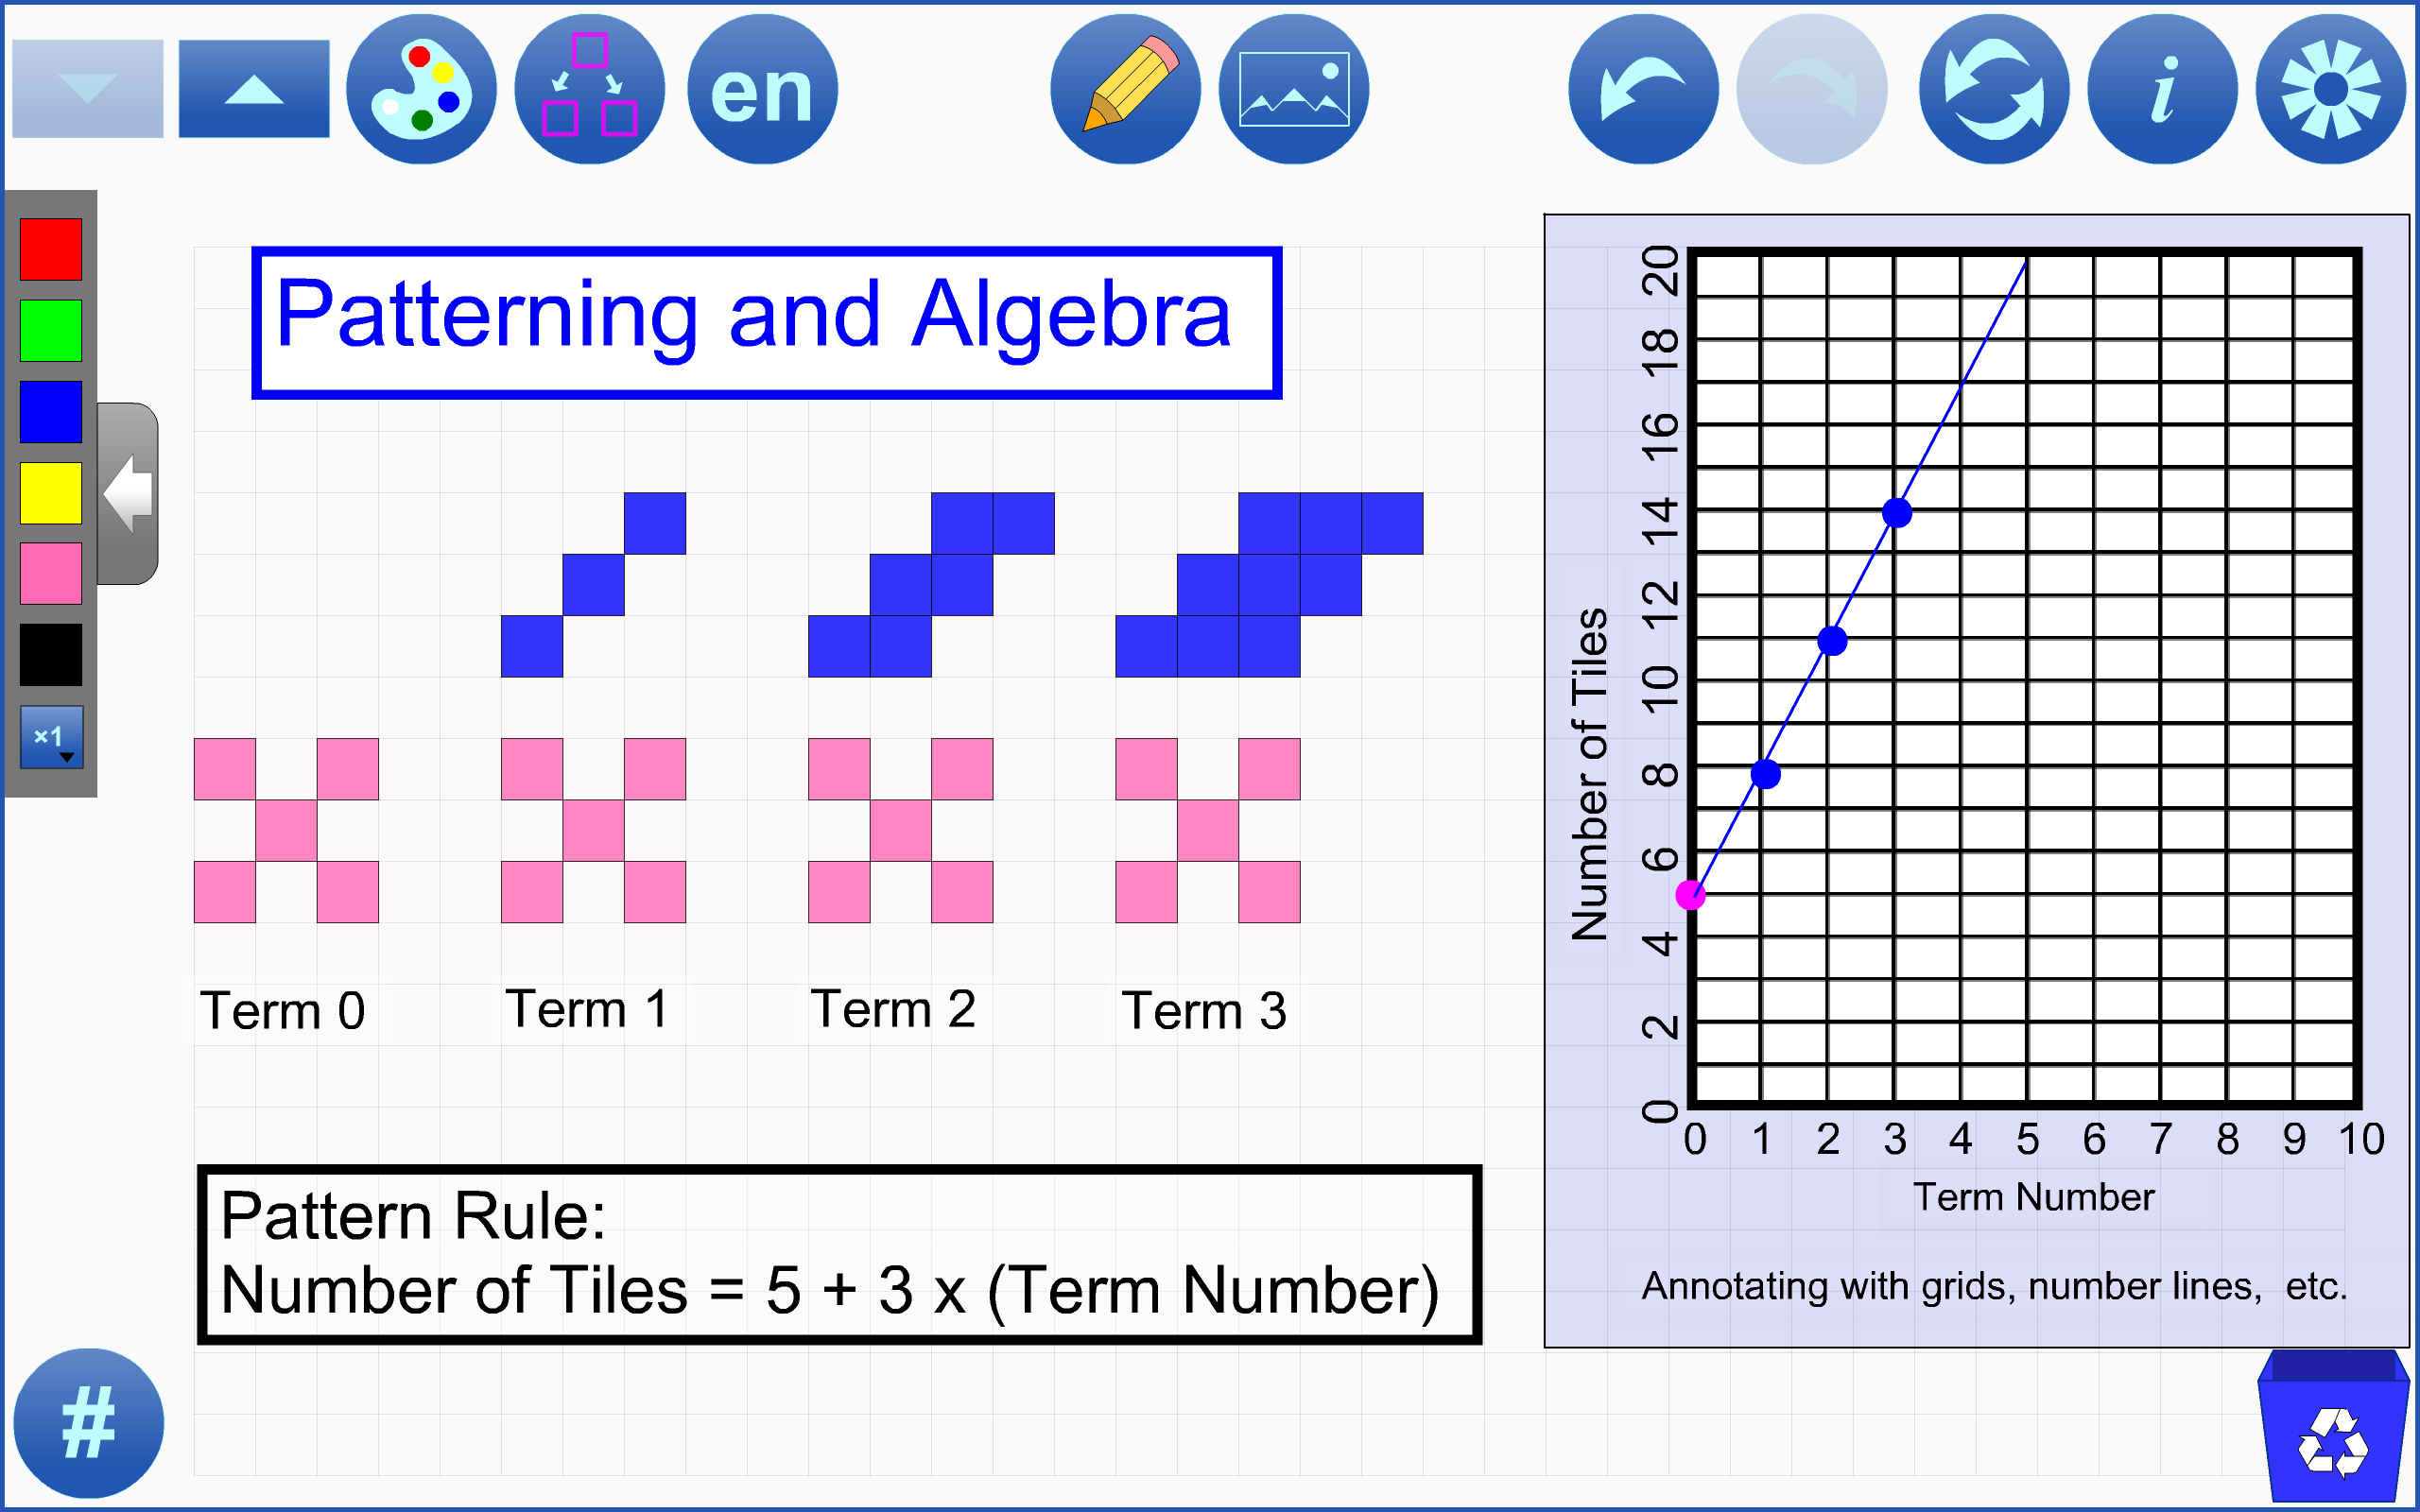 |
https://mathies.ca/files/examples/CT_SS3.xml |
|
Area and Perimeter
|
https://mathies.ca/files/examples/CT_SS4.xml |
|
Base Ten
|
https://mathies.ca/files/examples/CT_BaseTen.xml |
| Button | Description |
 |
Tile SizeDecrease / increase tile size. |
 |
Change Selected TilesShow the moveable Change Selected dialog to change the colour or shape of selected tiles. |
 |
Extend SelectionAll tiles that have the same colour as the currently selected ones are added to the selection. If no tiles are selected, all tiles become selected. |
  |
English / FrenchSwitch between English and French. |

|
Annotation ToolHide/Show a wide variety of Annotation Tools which can be used to communicate thinking. |
 |
Insert Image ButtonInsert images into the tool. More details. |
 |
Undo / RedoStep backward or forward through the actions taken with the tool. This feature is not only useful for backtracking when a misstep is made, it enables a student to demonstrate their work from the start to the finish. The student can press Undo until they are at the start of their solution and then press Redo repeatedly, explaining each step. Note: Undo / Redo is not available for annotation objects. |
 |
ResetDelete all work and return the tool to its starting state. |
 |
InformationShows a dialog with a link to this support page, a feedback form as well as copyright details and version number. |
 |
SettingsShows the settings dialog which opens with the Tiles tab showing by default.Click on Grid to access configurable properties for the background grid. Click on File to access open, import and save file operations. The Apply to workspace setting allows the user to determine whether changes to tile shape are applied only to the cloner tiles in the selection panel or also to the tiles in the workspace. The Auto Size Annotation setting is selected by default. This means that if the block size is changed, any annotation in the workspace will be scaled to match. |
 |
Recycle(in the workspace)Click to clear selected tiles. If nothing is selected, the entire workspace will be cleared.Alternatively, drag items to the recycle bin to remove them. |
 |
Tile CountShow the moveable dialog with a count of each colour of tile.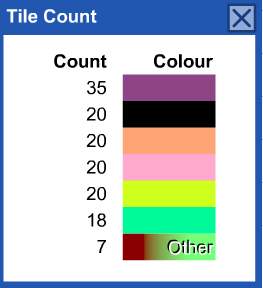 |
 |
Number of Copies to DragSet the number of copies to drag from the selection panel. |
 |
CopyMake a copy of the selected objects. |
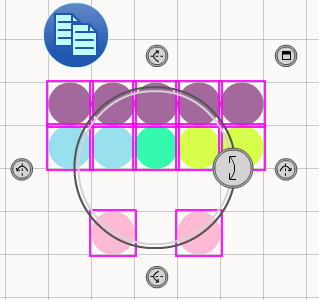 |
Multiple SelectTo select tiles draw a marquee rectangle around them.If tiles overlap, only the tile on the top layer will be selected (unless the ALT key is held down). Hold down the SHIFT key when drawing a marquee rectangle to add to the previous selection. Click a tile to add to or remove it from the selection. Selected tiles can be moved, copied, rotated, reflected vertically or horizontally, or recycled as a group. The grey button at the top right will compact these controls into a moveable dialog. 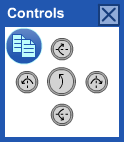 Close the Controls dialog to bring the controls back around the selection. The controls are only visible when tiles are selected. |
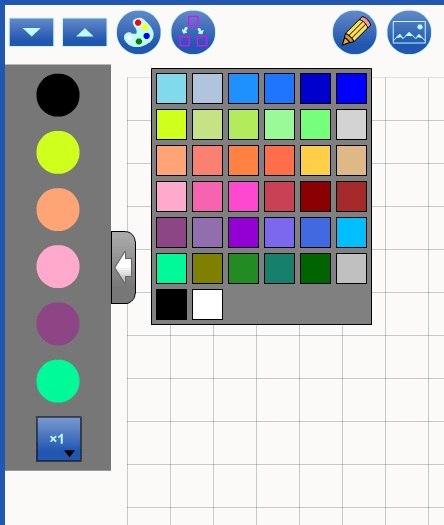 |
Configure the Selection PanelClick on a cloner tile in the selection panel to change its colour (Bead and Many only). |
| SHIFT + 0 | Change the multiplier to 100. |
| SPACE + 1 through SPACE + 6 |
Adds a tile matching cloner 1 through 6 to the workspace. |
| SPACE + SHIFT + 1 through SPACE + SHIFT + 6 |
Changes the selected tiles to the colour of cloner 1 through 6. |
| SPACE + ALT + 1 through SPACE + ALT + 3 |
Changes the selected tiles to squares, circles and rounded squares, respectively. |
| SPACE + E | Extends selection to match the selected colours (just like the button). |
| C | Shows/hides the compact controls. |