 found in many of the mathies learning tools to access the annotation features.
  |
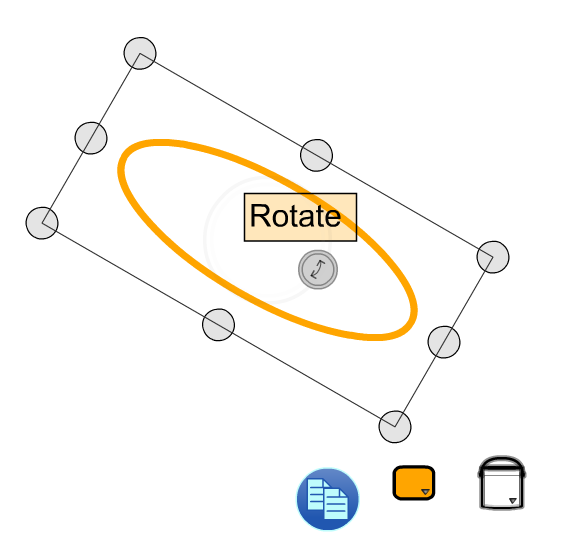
Selection ModeCan be used to:
|
 |
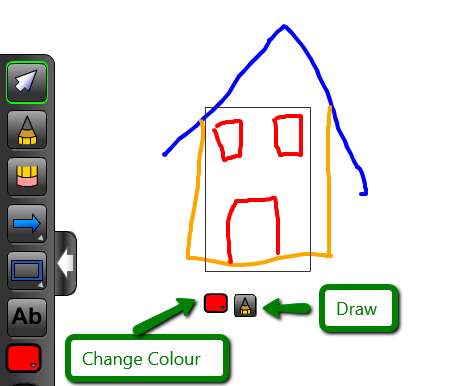
Draw ModeDraw freehand. |
 |
Erase ModeErase drawings created in draw mode. |
 |
Lines and PointsChoose between these options: |
 |
ShapesChoose between these options: |
 |
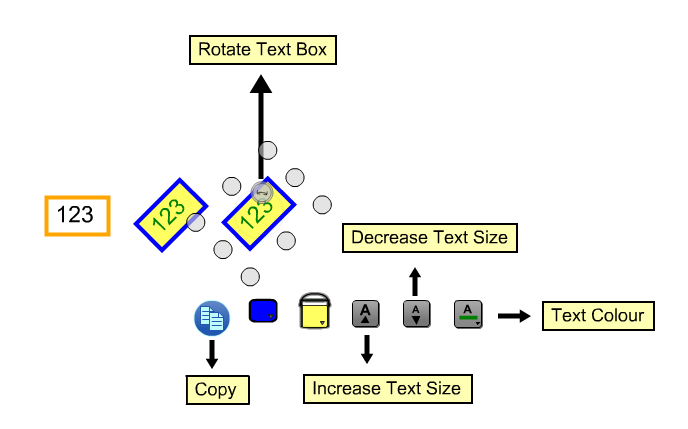
Text ModeCreate a textfield. |
 |
OutlineSelect the default outline colour, thickness (when available) and transparency for future annotation.Note: These defaults will also be applied to any selected annotation in the workspace. |
 |
FillSelect the default fill colour and transparency when available.Note: These defaults will also be applied to any shape or textfield selected in the workspace. |
 |
RecycleClick to remove selected items (annotation, images or tool specific objects) from the work space;click again to remove all annotation. Alternatively, drag items to the recycle bin to remove them. |
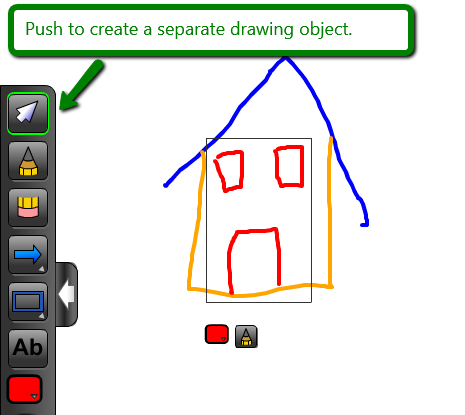
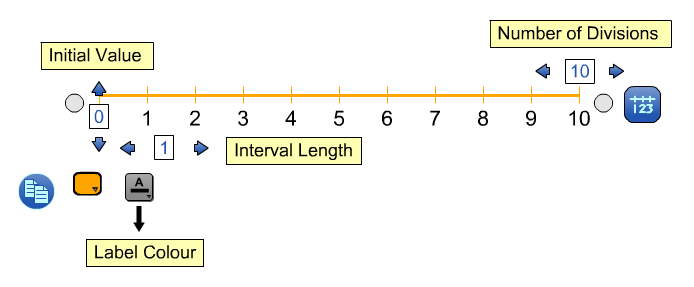

| Creation of Drawing Objects: |
|
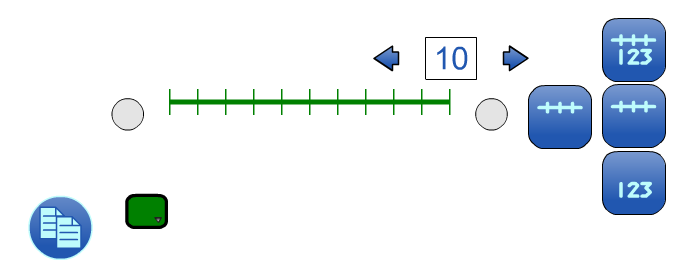
| Objects created from the same drawing menu are created one on top of each other in the order that they are drawn. The dots in this image are on top of the number line because both types of objects are found in the same menu AND the number line was drawn first. |
 |
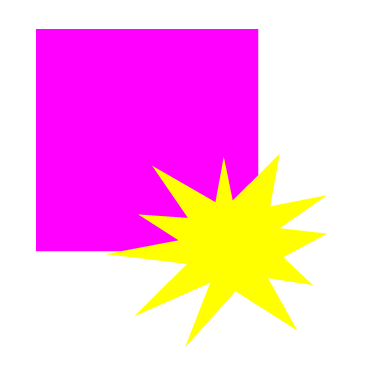
| Similarly, the yellow starburst is on top of the pink square because both objects are from the Shapes menu and the square was drawn first. |
 |
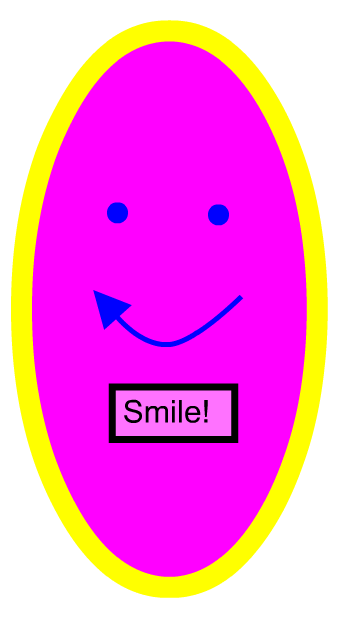
| Objects from different menus are drawn on different relative layers. Objects from the Lines and Dots menu as well as text and free hand drawings all occupy the same layer. However, they are created on a layer that is above any of the objects from the Shapes menu. To illustrate this, first draw a happy face using objects from the Lines and Dots menu as well as some text. |
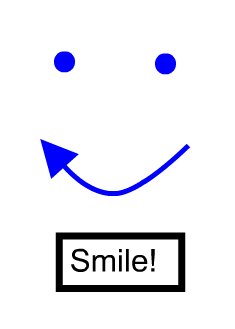 |
| Now add an oval head. Since the oval is from the Shapes menu, it appears below the objects you have already drawn. Of course, drawing the oval first and then the face would also give this same image. |
 |
| Changing Layers of Objects in the Workspace: |
|
| Click on any object to bring it to the top. Notice, the selected square is now above the starburst. The square stays on this higher level even after it is deselected. |
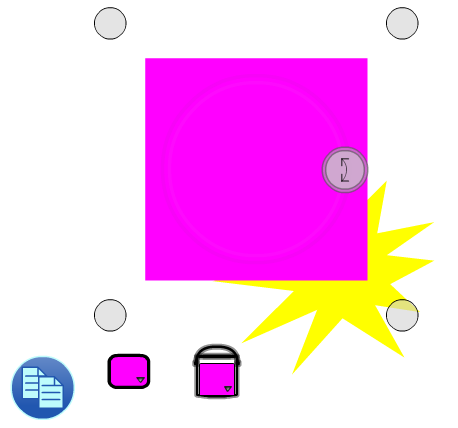 |
| Double click on any object to send it to the lowest layer. Here, the hop(smile) has been sent to the back. The control points and editor buttons indicate it is hiding behind the oval, not deleted. |
|