Mindomo is licensed by the Ontario Ministry of Education. Sign up using your board email address.
Video tutorials on using Mindomo can be found at their
channel on YouTube.
Mindomo can be used on mobile devices using a browser or a native app. These instructions assume you are using it in a browser.
The first set of instructions are for students to use once they have been given a link to a public map.
Instructions for how to
create a public map follow.
Adding an image to a map
- Click the down arrow at the top right of a topic and choose
Floating Topic to get an unlinked topic.
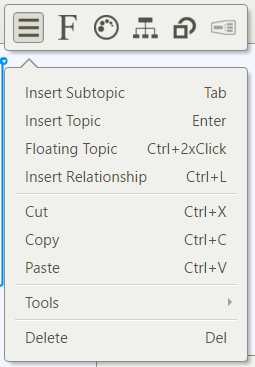
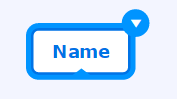
- Click on the map to place the topic.
- Type your name.
- With the new topic selected, click the mountain icon.

- Click the paper clip icon.
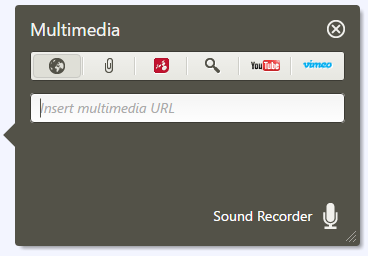
- Click Browse.
-
Select the image and wait for it to be loaded.
- Use the Resizing handles to make the image bigger or smaller, as desired. (This is much easier with a mouse)

Creating a public Mindomo for your students
-
Go to mindomo.com.
- Click Log in.
- Login with your Board or Teltgafe credentials - click next to No Account Yet? if you don't have such a login.
- Click the Create button.
-
Supply a Title, template, and decide whether to include in the public directory or add a password.

- Click Create.
- The map should open with one topic.
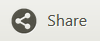
-
Click the Share button at the top right.
-
Click Allow guest editing. This option is not available for a non-licensed user of Mindomo.
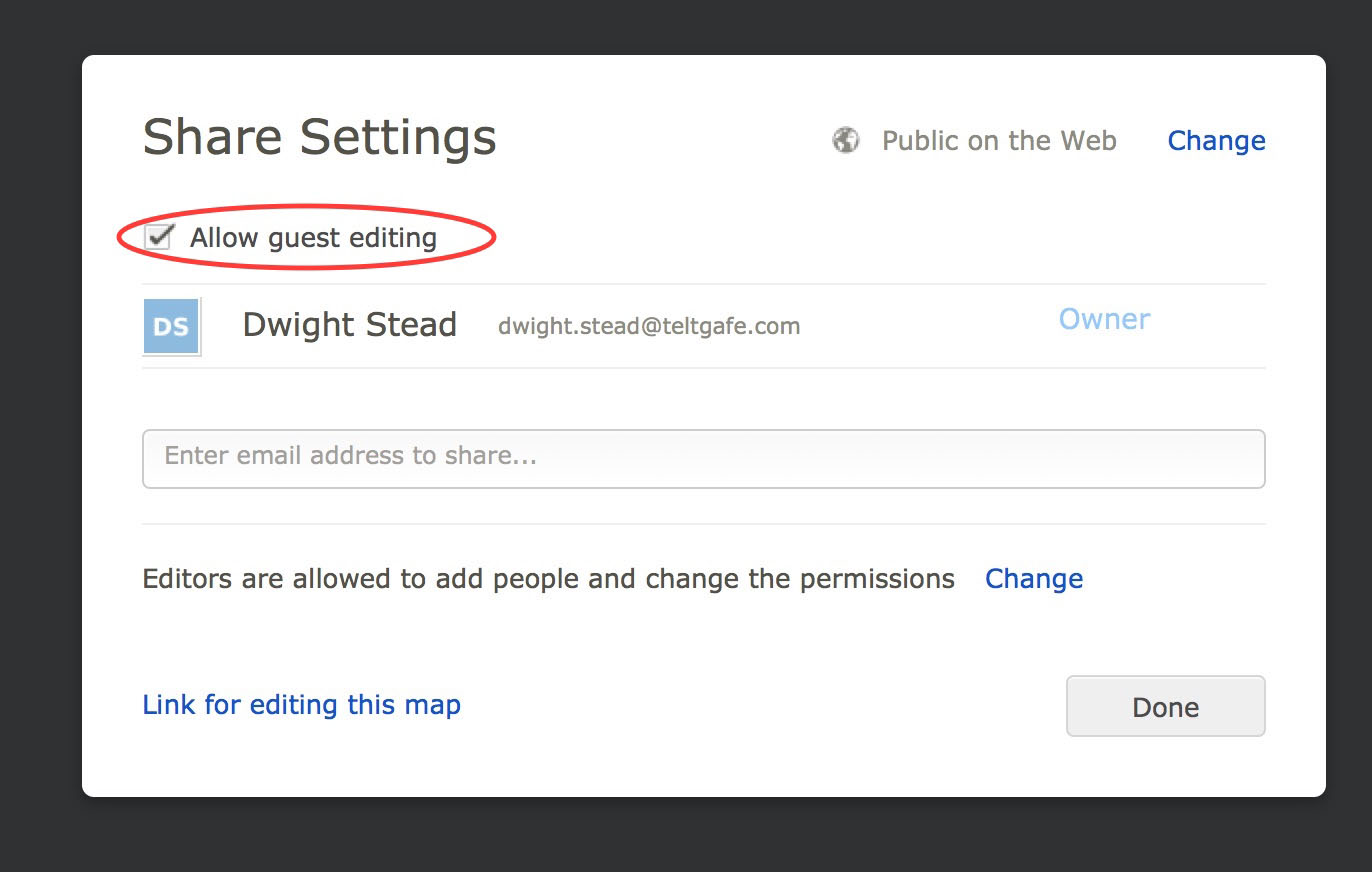
- At the top right of the Share Settings dialog it should read "Public on the Web". If not,
- click Change at the top right.
- Select Public Map.
- Notice that you can add a password.
- Press Save.
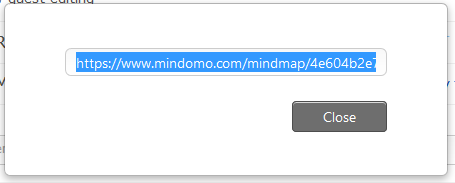
- Click "Link for editing this map" at the bottom left of the Share Settings Dialog.
-
Copy the link and share it with your collaborators.
-
You may wish to use a service like tinyurl.com to shorten it.

Go to www.tinyurl.com
Paste the link in the top text box.
Choose a nice short URL and type it in the second box.
Give the short version to your collaborators.
- Now students can use the link and can follow the directions above to upload images to the map.